Do-it-yourself Christmas decoration with recycling – zero effort, zero waste
A must for end-of-year festivities, Christmas decor is the essential element for immersing yourself in the spirit conveyed by it. In order to make the pre-party experience even more thrilling and moving, do not hesitate to draw your ideas from the DIY universe. Able to bring the whole family together around an activity that is as creative as it is fun, DIY Christmas decoration with recycling is also part of a current zero waste approach. Several tutorials and ideas for manual activities for young and old to discover in the lines below.
Page content
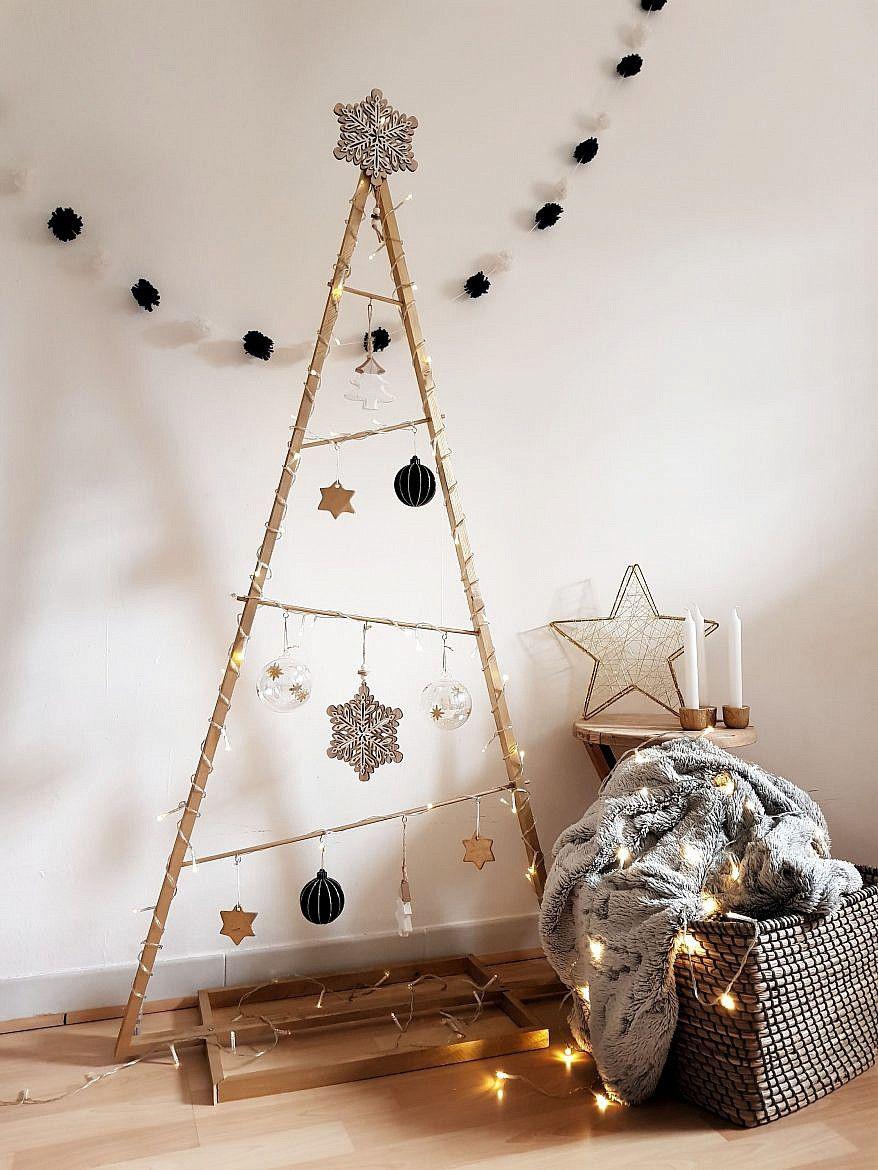
Zero waste Christmas tree in wooden branchesMaterials and tools:
How to do :
- Start by spreading out the rope (desired length depending on the size of tree desired), so as to draw the outline of a tree.
- Continue by pruning the branches, from the shortest to the longest.
- Store pruned branches on the rope, spacing them evenly. For a taller tree, add extra branches.
- Then attach the branches to the rope using a drop of hot glue, starting at the bottom. Wrap the rope around each branch and secure with an extra drop of glue. Once at the top, tie the two ends of rope.
- Hang the tree on the wall on a hook or other hanging tool.
- Decorate with light garland to draw the silhouette of the tree and finally add small elegant paper decorations.
Original Christmas tree in reclaimed wood branches
Decorate with charming DIY ornaments
©collectivegen.com
Do-it-yourself Christmas decoration with recycling – charming DIY lantern
Materials and tools:
How to do :
- Obtain the necessary materials and print the music paper template.
- Cut the white margin using your scissors to leave only the musical paper pattern.
- Measure the height of the glass jars, in order to define the size of the paper on the horizontal. The strip should be able to wrap around the glass jar, but not reach the top. Mark the paper where you need to trim and cut the paper to the measurements.
- To define the amount of paper needed on the vertical, wrap the paper around the pot, until the two opposite ends meet. Trim if there is too much excess paper, overlapping about 1cm.
- Cut out the stars in the musical paper using small scissors or a cutter, without discouraging if the result is not perfect.
- Paint the glass jars with acrylic paint gold. Instead of covering the entire surface with a solid coat of paint, consider creating a translucent metallic effect instead.
- Leave a few spots of golden paint on the paper, proceeding with touches made with a brush or spatula.
- Place the music paper on a sheet of card stock and trace the stars with black marker, so as to create a border around it. Again, don't be discouraged if the result isn't perfect.
- Once the gold paint dries, wrap the music paper all the way around, overlap the two ends and secure with tape/double sided tape or glue. To keep the paper stuck in place, run the tape all the way around the jar.
- Finally, to decorate, wrap a raffia thread around the ring and tie it, glue a decorative pine branch and add decorations at the end. In the concrete project, two red marbles decorated with gold paint were used.
Handmade candle holder inside a simple glass jar
Light decoration to give a romantic cachet to the festive atmosphere
©thegraphicsfairy.com
Handmade Christmas decoration - snow globes in recycled wine glass
Materials and tools:
How to do :
- The first thing you need to do is paint the lids of a jar or cardboard hoop white.
- While the paint dries, collect all of your materials and plug in the hot glue gun. Then apply glue to the underside of a figure and attach to the lid/hoop. Be sure to leave enough room to place the glass on top.
- Put a little artificial snow in the bottom of the wine glass.
- With the foot of the wine glass up, generously coat the rim of the wine glass with glue, so that you can attach it to the lid.
- With another generous dab of glue, tie the ribbon to the base, without rushing.
- Decorate at the end with a decorative bow tie or other decoration. Here you are, your alternative snow globes are ready.
Reuse your old wine glasses for creative purposes
©hometalk.com
Handmade Christmas decoration to do with your child – DIY snowman
Materials and tools needed:
How to do :
- Fill the sock with rice. To make it easier, drape the sock around the opening of a cup filled with rice. Fill to the ankle.
- Tie the sock and cut off the excess. The knot will be hidden under a hat.
- Tighten with an elastic to mark the waist and divide the body in two.
- To figure out buttons, noses and eyes, use head pins.
- Take the colored sock and carve the toe part of the toe to make the snowman's hat.
- Glue the hat in place.
- From the rest of the sock, cut a scarf and tie around the collar.
Snowmen with white recycled socks
Easy Christmas wreath in a hanger
Materials and tools:
How to do :
- Using the pliers, bend and shape the hanger, so as to obtain a hoop with hook at the top.
- Wrap the garland around the hoop, making sure to evenly distribute it.
- Bring up and tie with a piece of metal thread.
- Again using a piece of metal wire, attach a small festive decoration to decorate your crown.
Very simple Christmas wreath made in a wire hanger
©realestate.com.au
An alternative of the same Christmas wreath with balls
Another example of a nice Christmas wreath made with gold colored pasta
A great idea what to do with toilet paper rolls for Christmas
Simple decorative branch for your Scandinavian Christmas interior
A frame recycled and transformed into a brilliant decoration
Do-it-yourself Christmas decoration with paper – too stylish snowflakes

